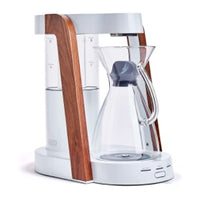
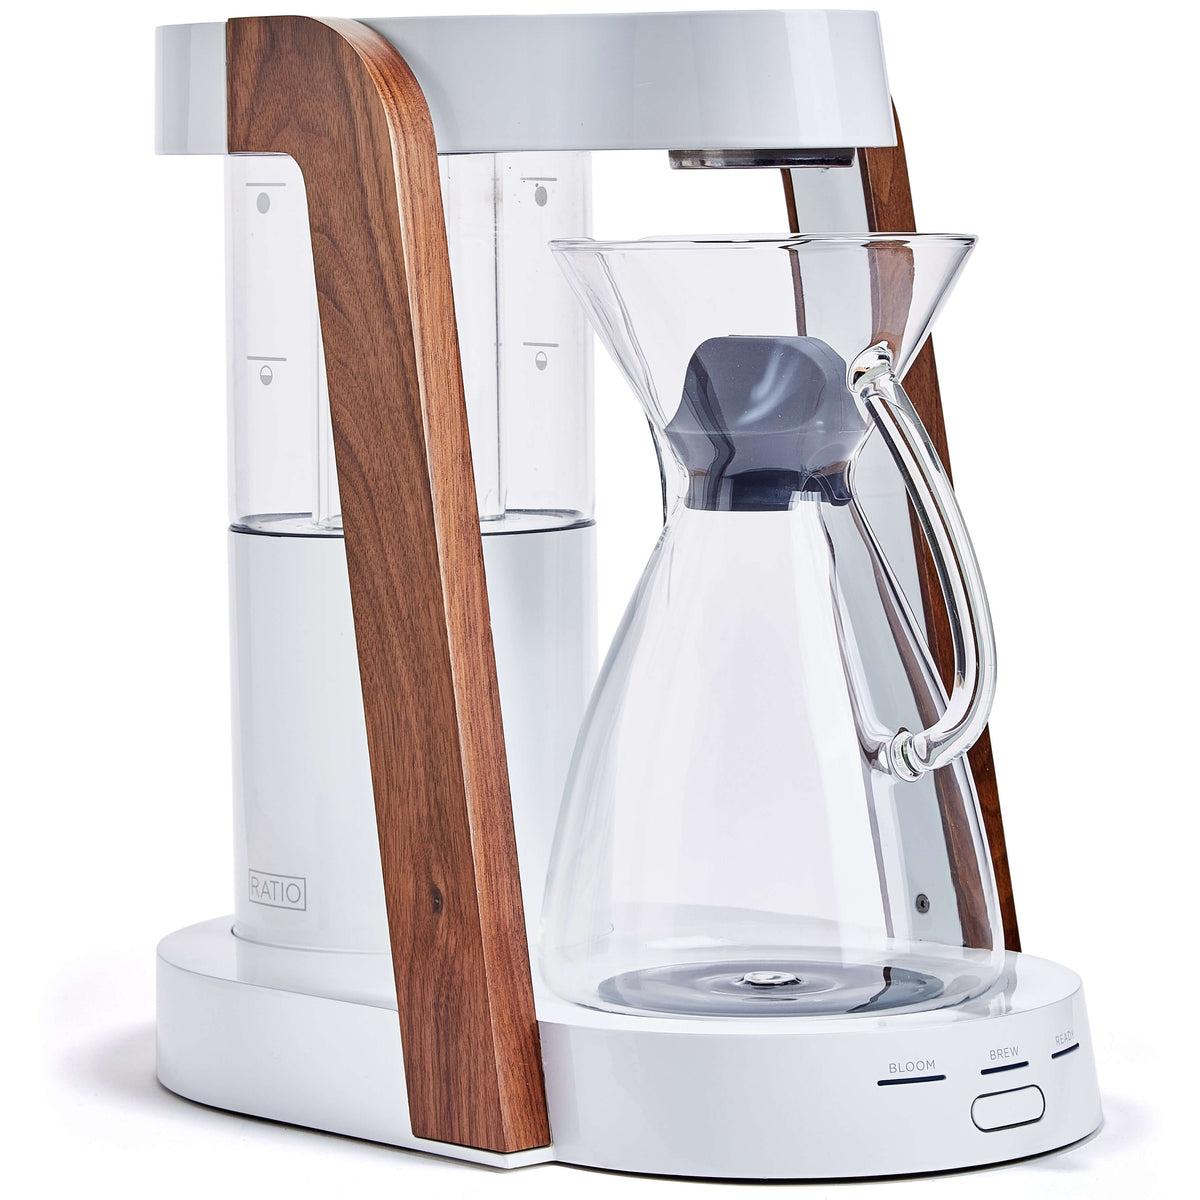
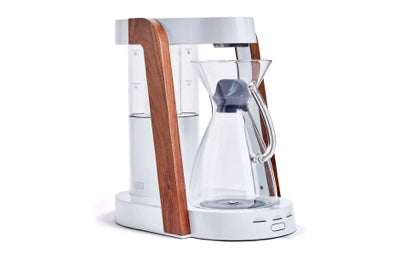
 Ratio Eight
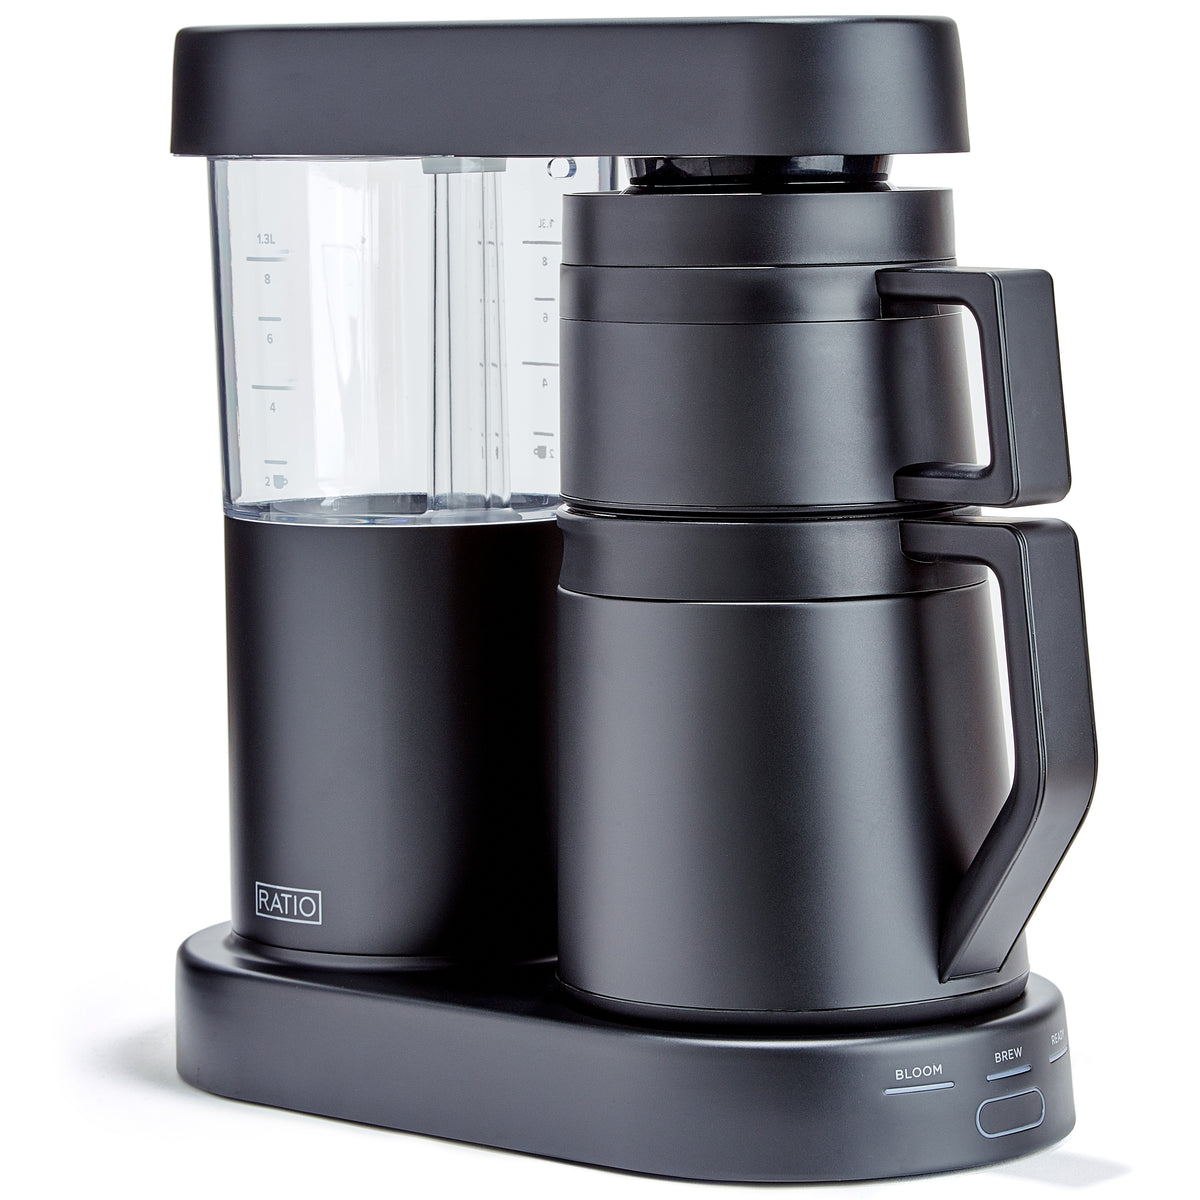
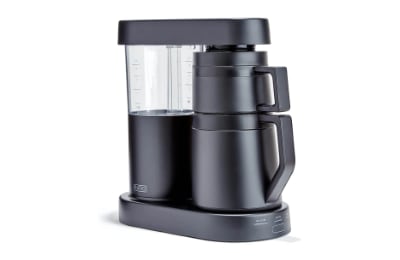
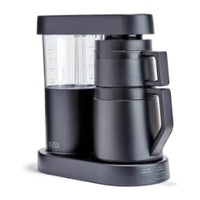 Ratio Six
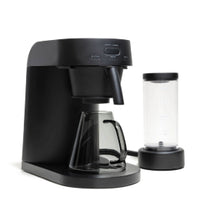 Ratio Four
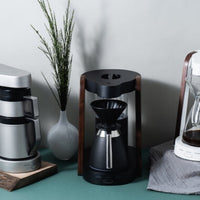 Compare Machines

How to Make Pour Over Coffee at Home
We all know there is a certain amount of finesse that comes with making a pour over coffee - which is a form of art.
Why do we love it?
The variable control of temperature we have to match the exact coffee we want to try, the aromatic bloom, the smell, the look, the feeling of holding a sleek kettle. Everything about it engages you. It is both romantic and scientific - perfectly blending the two, and by the time you are finished brewing you will get a sense of accomplishment and a very tasty cup of coffee.
Another benefit is that you can experiment with different roast types without having to make a whole batch of coffee, and is relatively quicker - you just have to be pretty focused. It is a great way to impress guests - once you’ve got it down of course.
For all the wonderful things we love about a pour over, we are going to share everything you need to know to make your very own at home.
What is pour over coffee?
A pour over coffee is a means of manual brewing by precisely pouring hot water via a gooseneck kettle over a bed of coffee to create a bloom and then finishing by repeated pours in circular motions to produce an evenly extracted and customizable brew. Time, temperature and technique are all key factors in a pour over which we will get into.
Why use the pour over method?
Coffee brewing methods can broadly be divided into two categories: immersion and drip. Immersion brewing involves steeping grounds in water for a period of time, while drip brewing allows water to filter through grounds and extract flavor without fully submerging them. Pour over and drip coffee are two popular methods of drip brewing, while a French Press is the most common method of immersion brewing. Each method has its own unique flavor profile and result, so it's important to choose the right one depending on your preferences.
While other brewing methods can offer more consistency, pour over coffees are unique because you can tailor the exact water temperature, bloom time, speed of pouring and technique.
All of these factors work together to allow you to taste more flavors in your coffee than usual. A pour over allows you to pinpoint those flavors that are often described on a bag of fresh coffee - apricot, toffee, baked apple, dark cocoa, and Meyers lemon for example.
How to Make a Pour Over
Making a pour over at home is easy but the brewing process requires you to be engaged the entire time.
Using a few pieces of equipment and following the guide below, you will soon be sipping on a delicious cup of coffee. To get started, you’ll need to heat up your water, grind your coffee, set up your dripper, filter and cup, and have your timer ready to go.
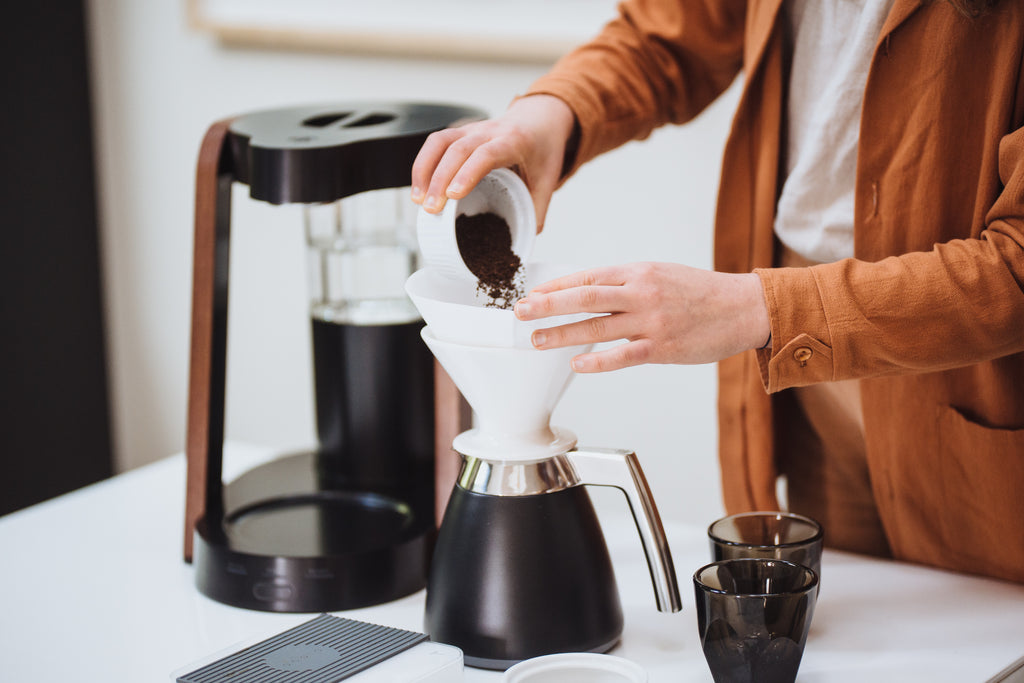
1: Prepare coffee grounds and filter
Freshly ground coffee at a medium coarseness similar to the consistency of raw sugar is best. This is important because if the coffee grounds are too coarse you’ll run the risk of very weak under-extracted coffee that can taste sour. On the other hand, if the coffee grounds are too fine, you’ll end up with a filter that might overflow and coffee that is bitter.
Grind 30g of coffee. If you do not have a scale, this is roughly 3 scoops of coffee.
We recommend 30g of coffee and 500g of filtered water, which is a ratio of 1:16.
If you love how your pour over turns out, knowing exactly what you did will be repeatable using the same pour over coffee ratio on the next one.
2: Heat water to the proper temperature
You’ll want to aim for a temperature of 195-205F or 91-96C. If you are using a lighter roast, maybe try a temperature between 203-205F, and if you are using a medium roast aim for 200F. Some kettles offer better temperature control and allow you to plug in the exact temperature, but if you do not have the ability simply heat water to a boil and then wait 30 seconds before using.
Most coffee aficionados will tell you that filtered water is the best type of water to use for making coffee. This is because filtered water has had many of the impurities removed. Tap water, on the other hand, often contains high levels of minerals and impurities, as well as chlorine, which can alter the taste and aroma.

3. Assemble and pre-wet your filter
Place a filter in your dripper and set over your favorite pour over carafe or mug (glass carafes are work especially well here). Then, wet your filter with just enough hot water to remove any paper taste and make sure your dripper and cup is preheated.
Then dump out the water, place your whole pour over set up on the scale and tare so that you are starting at zero.
Add your fresh ground coffee and double check you have the right amount then tare the scale again. Now are ready to go!
4. Let coffee bloom
The first pour is often called “the bloom” and is arguably the most important. You’ll want to start your timer, and begin pouring starting from the center in a circular motion and working your way out toward the edge and back again. This should take 30 seconds adding 60g of water (double your amount of coffee) and then waiting another minute for the coffee to bloom. This process allows for the CO2 to be released expanding your coffee and preparing it for a nice even extraction.

5. Pour
Once you have waited a minute for your bloom, you will begin by pouring in a steady circular motion moving from the center of your bed of grounds to the edges and back. This is important because you want all of your coffee grounds to be evenly and continuously saturated by the stream - we want every bit of water to reach every particle of coffee.
This process will take another minute and a half to two minutes. Pour in a slow and steady continuous stream, which creates temperature consistency during extraction. You may instead opt to pour in 2 to 3 intervals which gives your arm a break.
Overall timing is important because you will want to end up with 500g of coffee in about 3-4 minutes. If you pour too quickly, the pour over may end up weak tasting and a bit sour. But if the coffee drip is taking quite a bit longer, your pour over will be bitter and over extracted.

6. Enjoy!
Once you have reached 500g total in the 3-4 minute time frame your pour over is ready. Toss out the filter and enjoy in your favorite vessel.
What Equipment You Need
The equipment needed ultimately comes down to how precise you’d like to be, the volume you’d like to make, and how involved you want to be. For the pour over method it is fairly important to have an accurate scale, a gooseneck kettle for a controlled flow rate and speed of pour, a dripper and filter, and burr grinder that produces a consistent grind. We’ll break down some of our favorites below.
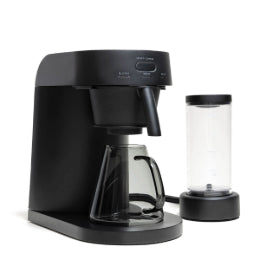
Alternatively, if you want the closest thing to a manual pour over without having to do the work, the Ratio Eight has become increasingly popular due to its unique design that mimics the same ability to deliver flavor profiles that a pour over does. An automatic pour over coffee maker like the Ratio will even do the bloom for you.
Coffee grinder
We recommend a burr grinder like the Fellow Ode Brew grinder or the Baratza Encore.
Kettle
An electric gooseneck kettle like the Fellow Stagg EKG Electric Kettle makes the pour over pretty easy with precision temperature, built in timer and gooseneck for the ultimate pour.
Dripper
The Hario V60, Chemex, Kalita wave, Bee House, Ratio Eight dripper and Kone are all good options. The V60 is a favorite for a single cup option because it fits right over your mug and uses a paper pour over coffee filter which leaves a “clean” mouthfeel.
Filter
Once you have decided on a dripper, it is important to choose a filter that fits properly to your device. You can learn more about filters here. Paper filters are often used for pour overs for their clean mouthfeel, but if you’d like more oils to come through try using a metal filter like the Kone with a Chemex.
Scale
A digital scale able to measure grams is really helpful with a pour over - we love the Acaia Lunar Scale.

Choosing the best coffee beans and grind for pour overs
While the best coffee beans for pour over is certainly a subjective matter, most experts recommend a variety of single origin beans typically roasted within 7-10 days. Medium or lightly roasted coffee beans are ideal for pour over. You will be able to appreciate the aromatic bloom you get with freshly roasted coffee, and additionally extract the best flavor profiles highlighted in lighter and medium roasts.
Roast Profiles
Lighter roasts will typically highlight more of a fruit forward and tart notes, while medium roasts may be more nutty and balanced. If you are feeling adventurous try out a single origin like a Latin American or an African. Blends are typically more forgiving as they bring a balanced flavor profile - such as El Toro from Water Avenue.
Grind Size
The grind size really is the key to a successful pour over. Make sure your grinder is at a medium setting and resembles coarse sand or raw sugar.
Conclusion
Now that you know how to make pour over coffee, it’s time to perfect your technique. Remember that the key is in the little details: from choosing the right grind size to using filtered water at the proper temperature.
Once you’ve nailed down your process, be sure to experiment with different beans to find a flavor profile that suits your taste buds.
And last but not least, don’t forget to enjoy the ritual of making pour over coffee – after all, that’s half the fun!
If you want to take the guesswork out of making pour over coffee, Ratio has the best automatic pour over coffee makers on the market, that delivers consistent results every time.